- Home
- Learn to Paint
Do You Want to Learn How to Paint?
Are you eager to learn how to paint art but unsure where to start?
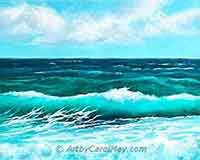
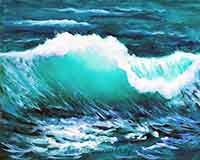
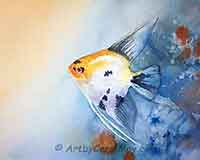
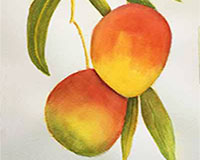
The step-by-step tutorials are an excellent way to start painting and learn at the same time. This page has a pictorial index of the oil and watercolor tutorials.
In addition there's information on painting materials, improving your skills, staying inspired, finding your own style and more answers to frequent questions.
 Enter the awesome world of art!
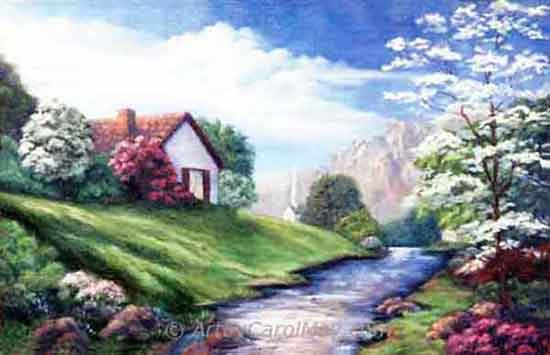 Enter the awesome world of art!
You Can Learn How to Paint Art!
Whether you're 18 or 80, painting is for everybody, but where do we start?
Learn How to Paint with the Tutorials
The best way to learn painting is by actually doing it!
The tutorials are great for practice and learning to paint at the same time.
Choose the tutorials that pique your interest and start painting. You may be drawn to the fluidity of watercolor or the rich textures of oil paint.
Oil Painting
Please Note: The oil tutorials may also be used for acrylic or alkyd paint.
How to Paint Watercolor
What Painting Materials Do We Need?
Quality materials make painting enjoyable and affect the outcome of our paintings.
What do we need to learn how to paint? Basically we need paint, a brush and something to paint on.
What Type of Paint Should We Use?
You may actually try different types of paint to decide which one you prefer.
The most popular types of paint are oil, watercolor and acrylic. Any of these three paints are great for learning to paint art.
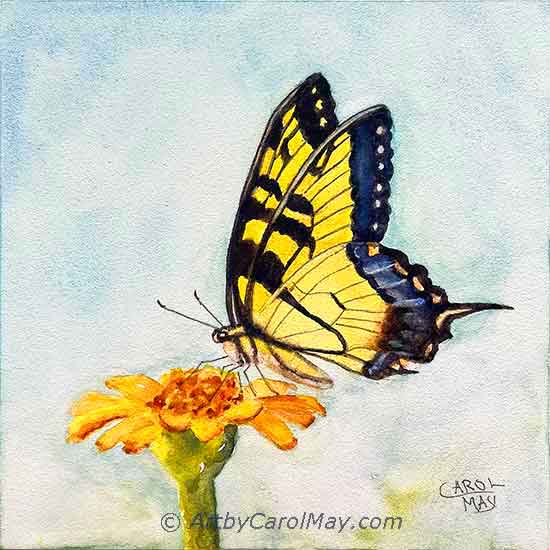 Painting watercolor is easy to learn.
Oils dry slower, allowing the artist time to blend and rework the passages before it dries.
Watercolor is often used for delicate, intricate works. Once their techniques are learned they make wonderful paintings.
Acrylic paint is fast drying and relatively inexpensive. It can be painted on various surfaces. One of my art friends does little landscape scenes on rocks and she sells almost every rock.
Visit an extensive explanation of the 3 popular paint mediums.
What Are the Recommended Brushes?
What Are the Recommended Brushes?
You can learn to how paint with a couple of brushes, specifically labeled for the medium of your choice.
Watercolor brushes; #7 round and a 1" flat, "labeled for watercolor"
Oil brushes; #8 and #12 flat bristle brushes, hog hair is good. You may also use synthetic oil brushes.
Acrylic brushes; #6 round and a 3/4" flat, synthetics are best for acrylics because natural fiber brushes retain water.
How Do We Clean the Brushes?
How Do We Clean the Brushes?
Watercolor and acrylic brushes clean-up with water.
Swish the brushes in a container of water. Acrylic may require some mild soap the get all the paint out.
Be sure and clean your brushes before the paint dries in the brush!
Oil paint is cleaned up with odorless mineral spirits. Gamsol is the recommended solvent for painting indoors.
Lay the cleaned brushes flat, horizontally to dry.
Don't put them upright to dry, stuff will run down into the ferrule and eventually ruin the brushes.
Are Student Paints a Better Buy?
Are Student Paints a Better Buy?
Student quality paints are less expensive and certainly good for learning to paint.
Artist paints (professional paints) are actually a better buy. They cost more than student paints because they contain more color pigment. So, they cover better and produce more vibrant colors.
How Do I Choose the Right Colors for My Paintings?
How Do I Choose the Right Colors for My Paintings?
Lean toward a limited palette with the least number of colors possible.
First, decide on the main color for your focal subject. It may be a warm or cool color.
Next, select a color that's the opposite of the subject's color. For example, if the subject color is warm, choose a cool color. The opposite colors are great for mixing the dark and neutral colors for the painting.
Then, select a third color that complements or highlights the first two colors.
Get more details on how to choose colors for a painting.
Note: The painting tutorials list the colors used in that particular painting.
What Do We Paint On?
What Do We Paint On?
Most watercolor artists learn how to paint on watercolor paper.
Later you may try aquaboard or canvas made especially for watercolor. Aquaboard is my favorite painting surface for watercolor.
Oil and acrylic are traditionally painted on canvas.
Stretched cotton canvas is a good option for learning to paint.
It is convenient and ready for painting without any further preparation.
Canvas boards are less expensive and great for practice and learning. They may warp over time. You may also use a tablet of canvas paper.
Hardboard panels have a smooth surface that's great for detail work. They are more expensive, but a great option when you plan to keep or gift the finished painting.
The surface we paint on is called a support. What are more art terms we can learn?
What Do I Need in My Painting Place at Home?
What Do I Need in My Painting Place at Home?
Good light and ventilation are a must for painting with all mediums.
Answers to Frequent Questions
There are lots of questions when we are learning how to paint.
Some common concerns are about composition, color theory, mixing colors, how do we stay inspired and avoid mistakes.
What Is Composition and Why Is It Important?
Composition is the way things are arranged in a painting.
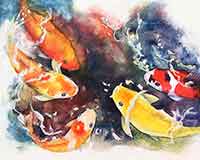
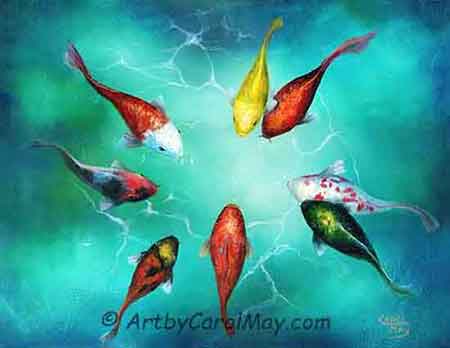 An intriguing composition of Koi.
The composition invites the viewers into the painting.
A good composition allows their gaze to move around the painting without any blocks or hindrances.
Artists use the rule of center lines and thirds to create pleasing compositions.
We want to avoid mistakes with lines, shapes, tangents, positioning and grouping items.
How Do We Avoid Mistakes?
We all make mistakes, myself included. It's part of learning.
The best thing is to learn from our mistakes. That's the way we grow and hopefully don't do the same mistake too many times.
What is the most common beginner's mistake?
What Should We Paint?
Finding ideas and inspiration is a fun part of learning how to paint.
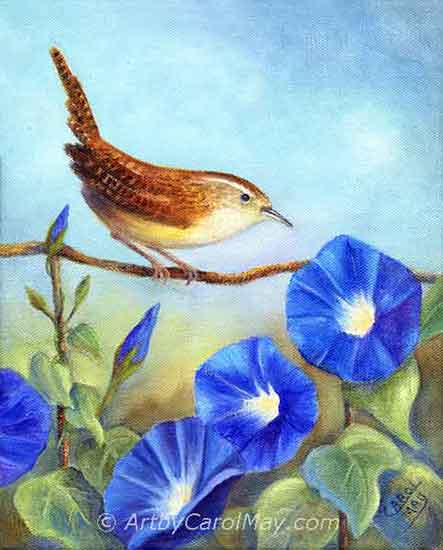 Keep a watch for things to paint.
The wonders of nature hold endless paintings. We may find interesting things to paint in the backyard or on vacation.
Everyday life is full of inspiring ideas for a painting.
It could be the dog curled up in front of the fireplace or the precious face of a child.
Start a file of ideas.
Look at paintings in books, on-line or at art shows.
Keep your eyes open for inspiration. If you don't have time to sketch things, take some photos that will jog your memory later.
Do We Use Color Theory to Mix Colors?
Yes, definitely. The artist color wheel teaches us color theory.
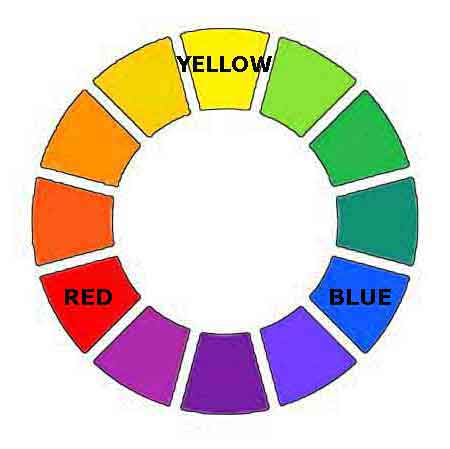 Artists use the color wheel often.
The color wheel is an essential tool for artists.
We refer to it constantly, even if only in our head after we have it memorized.
It teaches us the primary, secondary and tertiary colors; how to mix colors and how to use them in our paintings.
It shows us how the colors relate to each other.
We use it to identify warm colors, cool colors, and complementary colors.
How Do We Stay Inspired?
Share your paintings with friends, family and other artists.
- We stay inspired by painting often.
- Join your local art association and paint with other artists.
- Go to painting classes, art shows and visit art museums.
Make time for painting. Painting on a regular basis puts our learning into overdrive! Many professional artists paint daily.
How Do I Find My Own Unique Style?
Experimenting with different painting styles is part of finding our personal artistic voice.
Realism depicts subjects as they are in real life. It takes sharp observation, technical skills a lot of time and patience. It's a challenge, but it can be very rewarding.
Abstract art works with shapes, colors,
and forms, that may or may not represent real-life subjects. It conveys emotions and
ideas rather than discernible objects.
Impressionism emphasizes light and color, instead of realistic details. The impressionist often uses bold brushwork to create vibrant and dynamic paintings.
Trying different styles expands our horizons and we can discover new ways to express ourselves.
Our artwork may not be a specific style, but it will be uniquely ours.
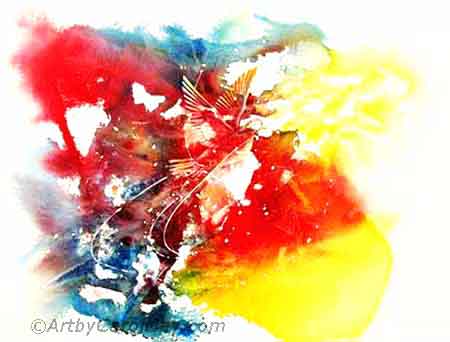 Don't hesitate to experiment.
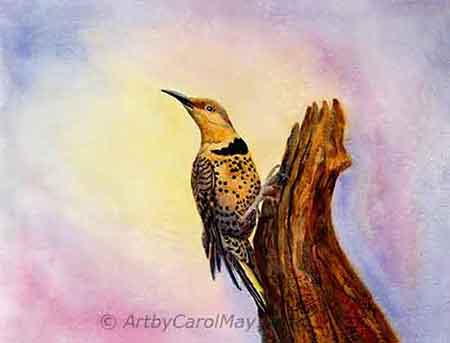 Realism requires patience.
You can learn how to paint!
Let your creativity flow!
As you explore the different techniques and subjects, focus on the joy of creating and allow each painting to teach you something new.
Don’t hesitate to experiment, express yourself and find your style. That's the joy of painting art.

